In search of a replacement for silkscreening
Tags:Names and placement markers on PCB aren’t essential, but sure they are convenient. I’m trying to figure out a nice way to mimic the silkscreen-based process used in industry to print on PCBs.
Tools
- Laminator
- ROYAL PL-2100, 120°C roller temperature
- Printer
- Brother DCP-7010R, Brother cartridge/toner
- UV Light
- 395nm 3W LED flashlight
- Exposure press
- 3.175mm clear acrylic sheet
Materials
- Acrylic paint
- TiO₂-based acrylic paint
- Solder mask (substrate)
- Dynamask 5000 dry film solder mask
- Photoresist
- negative dry film photoresist
- Photoresist removal solution
- NaOH 5%wt
- Stencil film
- Lomond 0707415 125µm PET film
Try #1
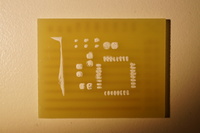
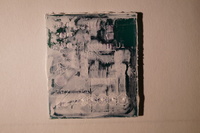
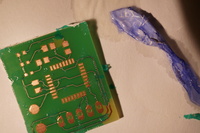
I tried to use a stencil made out of PET film to press acrylic paint through with a spatula. However, paint tends to get squished under the board, leading to very disappointing results:
I used a solder paste stencil instead of silkscreen stencil, because I can’t yet generate g-code for the latter, but this should not affect results in such a significant way.
Try #2
I had an idea: what if I mimic the silkscreening process, except remove the mesh (screen)? In other words, laminate a layer of dry film resist over solder mask, then expose the solder mask everywhere except where I want paint to appear, then push paint into grooves with a spatula.
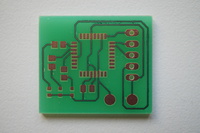
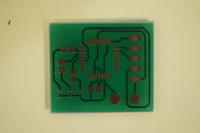
It almost worked, except for two things:
- NaOH would strip solder mask as well, though quite a bit slower.
- Paint adheres much better to resist than to underlying solder mask. That makes sense in retrospect, because the mask is explicitly designed to repel substances such as solder or flux.
Try #3
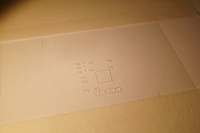
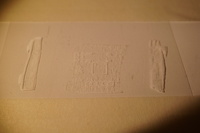
I tried to use a stencil made out of PET film with engraved grooves. I would push the ink into grooves, then push stencil with ink against PCB (mimicking offset printing).
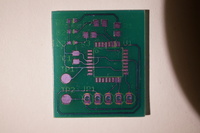
Unfortunately, it turns out, the ink dries very quickly in the process and doesn’t transfer to PCB at all.
