Fixing hinge mount on ASUS UX32VD
Tags:I hate consumerism. I really do. So, when the hinge mount on my laptop broke (first partially, then entirely), I spent an inordinate amount of time searching for a replacement on a lot of places, including eBay, AliExpress and local Craigslist clone, with absolutely no success. ASUS simply does not sell spare parts, except for replacement keyboards (which I have, too, replaced twice).
Annoyed by broken laptop and unwilling to buy another one simply because a bunch of corporate dickheads decided they want planned obsolescence, I figured out a way to fix it.
Overview
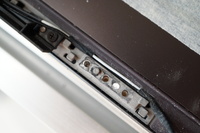
The problem lied in the attachment of the lid to the hinge. The lid is based on a cast aluminium frame, with two bumps and three threaded depressions on each side. In about 1.5 years of use, this whole system was almost entirely destroyed. Out of four bumps, one remains; the others were sheared. Out of six screws, one remains; the other screws (and some depressions) have had their threads destroyed. No wonder: a tiny 2mm screw made out of soft aluminium didn’t have a chance.
Initially I wanted to replace just the screws, but they had a nonstandard diameter (a little bit larger than M2) and thread. So, I had no idea where to get them from.
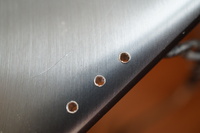
The best way to fix it I have imagined was to simply drill the lid through and use a set of standard M2 nuts, screws and washers to fix it. As I’ve mentioned, the lid is based on a cast aluminium frame, which makes it both easy to drill and well-suited structurally for this fix.
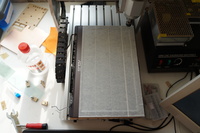
I was using my CNC machine for drilling, as it keeps the drill bit vertically much better than my hands. A drill stand (which I do not have) would’ve worked just as well.
Tools
- CNC machine
- CNC3020T
- 2mm HSS drill bit with 3.175mm shank
- generic
Materials
- M2x12 screw, M2 nut and washer ×6
- generic
Process
Disassemble the laptop and take the lid off.
Use masking tape to cover the screen surface completely to avoid damaging it with sharp aluminium chips.
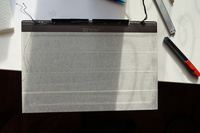
Securely fix the lid on the CNC machine bed with double-sided adhesive tape. Placing your whole palm on the screen surface allows you to apply a lot of force without damaging the LCD matrix.
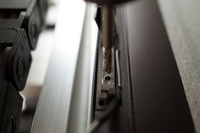
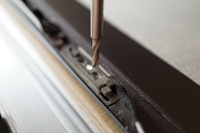
Fix the 2mm drill bit in the collet. Touch off the Z axis so that it is at zero at about 4mm above the hinge mount.
Manually position the drill above every mounting hole with “Continuous” and “.05mm” jogging modes of LinuxCNC. After positioning, manually enter the g-code sequence for drilling.
I have used the following g-code:
1
2
3

F40 S16000 M3
G82 Z-10 R0 P0.5
M5
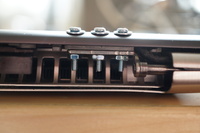
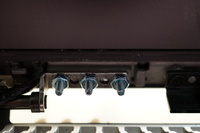
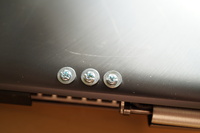
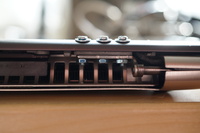
Assemble the laptop back, using M2 screws to fix the lid. Washer is placed on the external surface of the lid, distributing force and hiding unsightly drilled edge. Nut is placed at the internal side of the lid, hidden by plastic cover.
I didn’t have M2x12 screws or a suitable bolt cutter, so I cut them with a diagonal cutter. This messes up the thread and complicates disassembly, but I do not see a reason to disassemble it even once more; there’s nothing serviceable about the lid.
It works! If the screws aren’t poking out too much, replace the plastic cover.
ASUS engineers could learn a thing or two.
